Welcome to South Africa's Audio Visual community!
Welcome to the home for South African audio and visual equipment owners and enthusiasts. Whether you are an audiophile or a hobbyist, feel welcome to join us in the exciting discussions about amplifiers, turntables, receivers, speakers, projectors, screens, restoration and new projects, product reviews, accessories, classifieds, and so much more!
You are using an out of date browser. It may not display this or other websites correctly.
You should upgrade or use an alternative browser.
You should upgrade or use an alternative browser.
Restoration Quad 303 restoration
- Thread starter mygoggie
- Start date
Restoration projects
mygoggie
Administrator
I decided to calculate the total surface area that needs to be sprayed for the Quad 303. So I went and carefully unwrapped the stored steel parts. I nearly lost it ...
What looked like quality plating turned out to be a disaster. All the parts have started to corrode!
 :Ooooooh: :sulky: :nono:
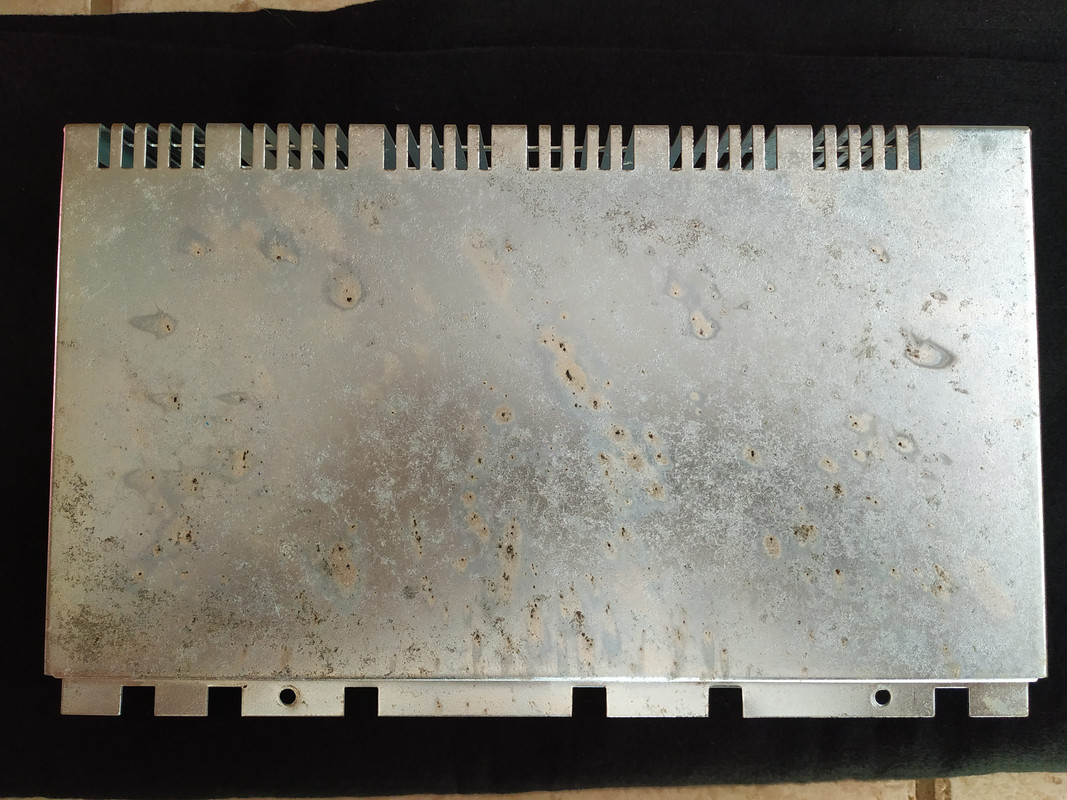
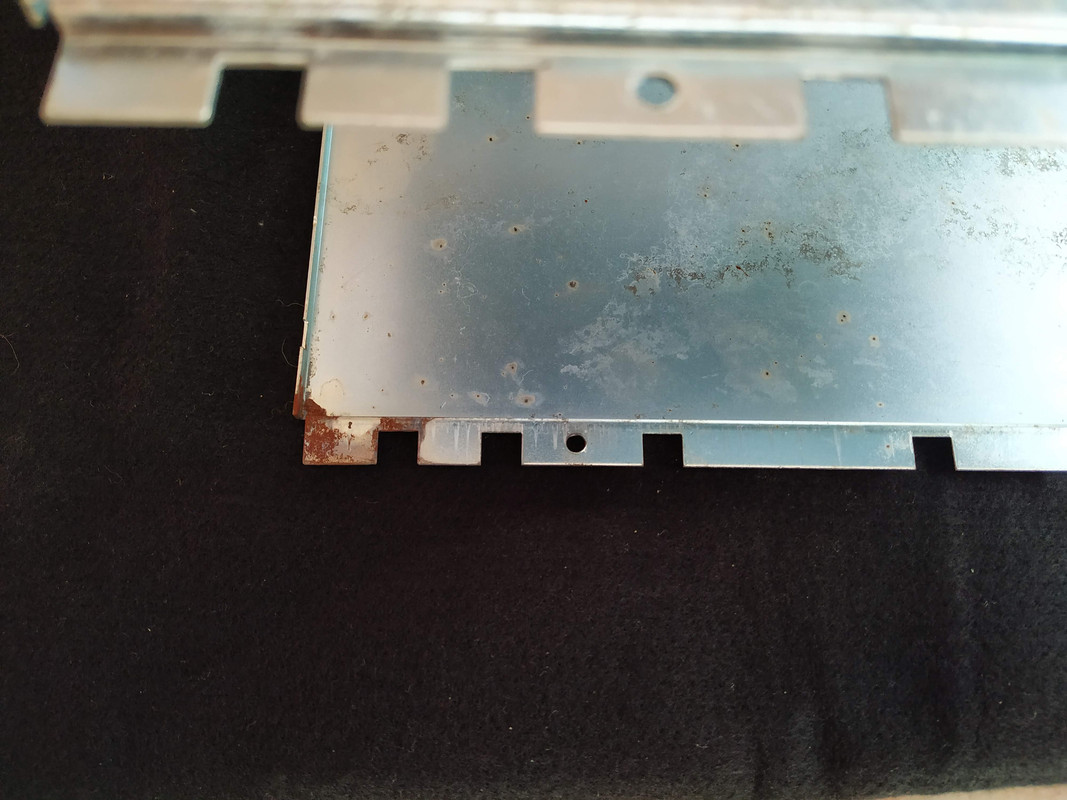
And so much more worrisome was the Quad 33 front plate that will not be painted.
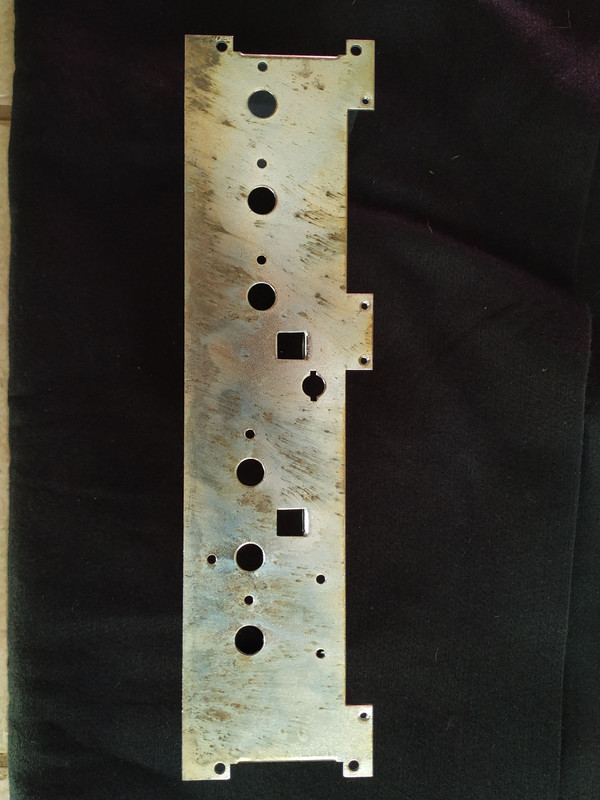
I will mail the plater now and ask what the heck they are going to do ....
What looked like quality plating turned out to be a disaster. All the parts have started to corrode!


And so much more worrisome was the Quad 33 front plate that will not be painted.

I will mail the plater now and ask what the heck they are going to do ....
mygoggie
Administrator
So, I have mailed them. Let's see ...
Back to what I originally started off, the surface areas.
On the Quad 303 the total area of the surfaces to be painted are as follows:
Back to what I originally started off, the surface areas.
On the Quad 303 the total area of the surfaces to be painted are as follows:
- Dark olive brown: 2 919 cm2 or 452.5 in2
- Lighter brown: 1 536 cm2 or 238.1 in2
mygoggie
Administrator
The plating company came back to me and asked that I return the parts ASAP so that they can fix these.
Good news and I am really glad they have business ethics.
Good news and I am really glad they have business ethics.
mygoggie
Administrator
Hello Herman, my apologies for being absent (even though I am on the forum once in a while). Time a wee bit tight at end of year. I am glad they decided to man up and do the work. I do spray painting in free space, not a spray booth. I would not want to upset you more than the platers.... However, I do think I have this process well covered otherwise I would not have offered.. I'll be in the wings if you get a bloodied nose once again from the platers  [Schalk]
mygoggie
Administrator
Thanks for the reply Schalk ! I will chat to you on email about my plans. Let me first get the plating redone. I will need to check the 303 chassis as well as that is already partially assembled.
mygoggie
Administrator
Dang ... the 303 chassis has also corroded, so I had to strip everything I have assembled from it. It will go back to the platers as well. Dunno what the heck they did but the coating IMHO is way too thin to offer any protection.
mygoggie
Administrator
I handed the parts in this morning and got an email this afternoon to please come and collect. Let's trust that this time round it will be done so that no rust will appear!
In my rush this morning I forgot the 33's chassis. Will take it in when I collect the others. Too many things ...
In my rush this morning I forgot the 33's chassis. Will take it in when I collect the others. Too many things ...
mygoggie
Administrator
Crazy world we live in at the moment. Load shedding saw our supply being switched off at 2h00 and when the supply went on at 6h30 it immediately shut down. In this time, some brave gentleman offered to clean the main sub-station of old equipment and copper ...
Supply only came back on now after 14h.
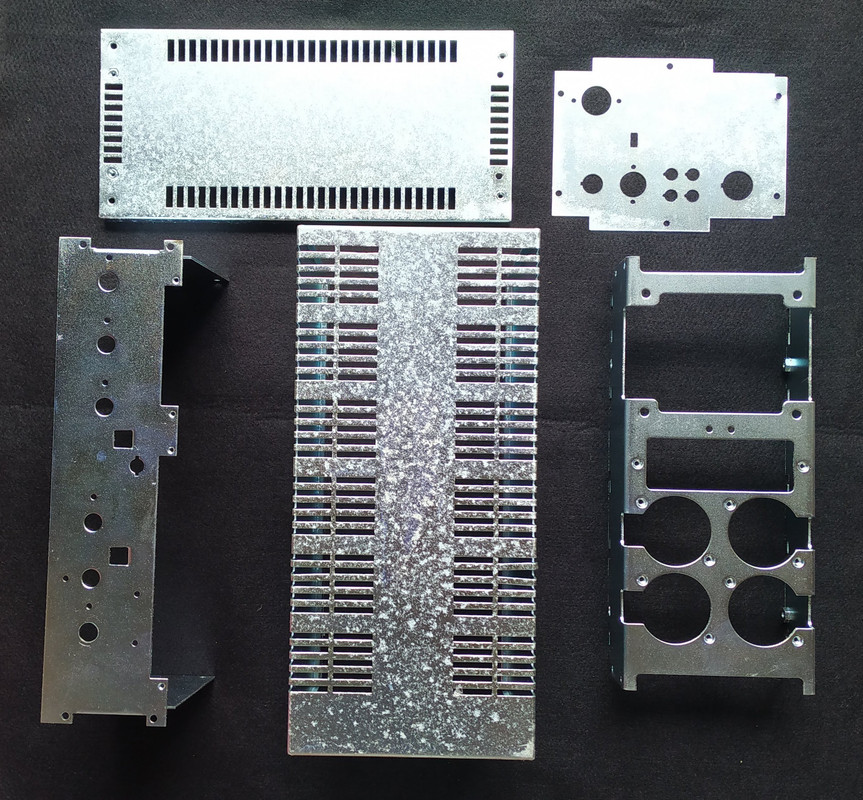
Anyway I spent the time in town, making my water purification skid's shopping list a bit shorter and collecting the replated Quad 303 and 33 parts. Looking good this time round.
Supply only came back on now after 14h.
Anyway I spent the time in town, making my water purification skid's shopping list a bit shorter and collecting the replated Quad 303 and 33 parts. Looking good this time round.

mygoggie
Administrator
Just to be double sure I am not running into an oxidation issue again I dunked the 303 and 33 chassis into [member=82]Family_Dog[/member]'s SAF-DEM dupa.
I am hoping this will seal it just that little tiny extra bit required.
All nicely dried and ready for assembly. The rest of the parts I will coat with a layer of primer to make sure that those are seals as well.
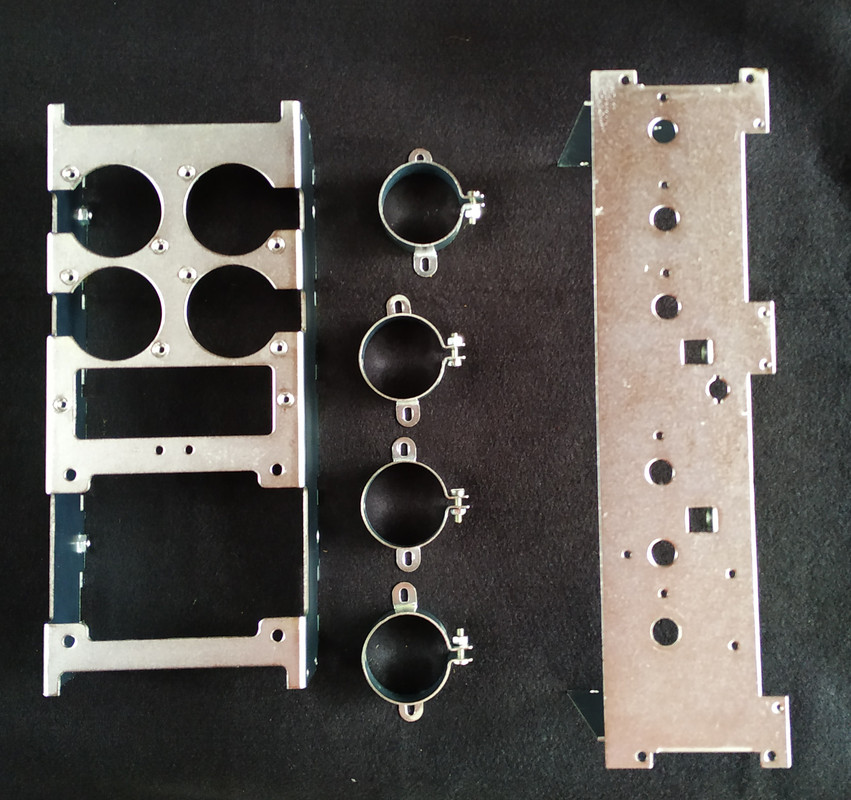
I am hoping this will seal it just that little tiny extra bit required.
All nicely dried and ready for assembly. The rest of the parts I will coat with a layer of primer to make sure that those are seals as well.

mygoggie
Administrator
Call me a tad crazy but @Michon sold me another Quad 303. Oh well, while I am busy I can just as well do another in tandem.
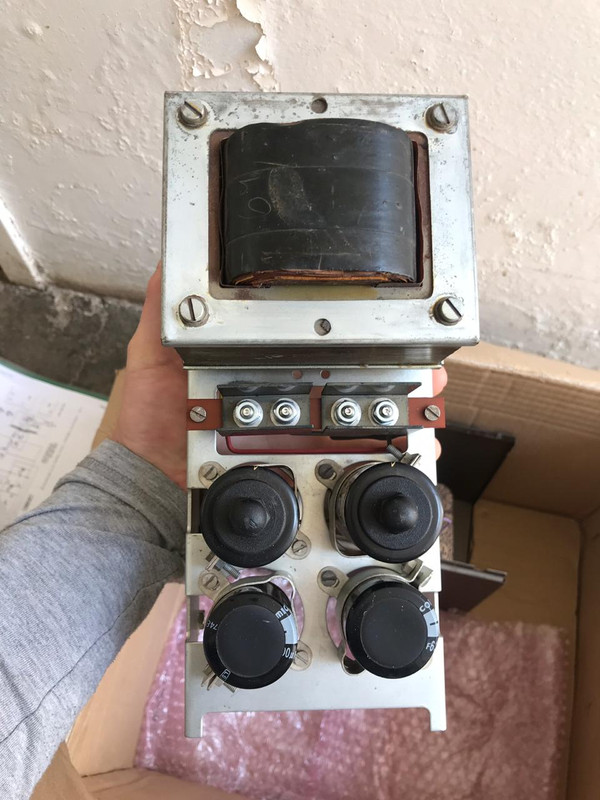
The PCBs I will replace, the rest looks in rather good conditions compared the one I started off with.
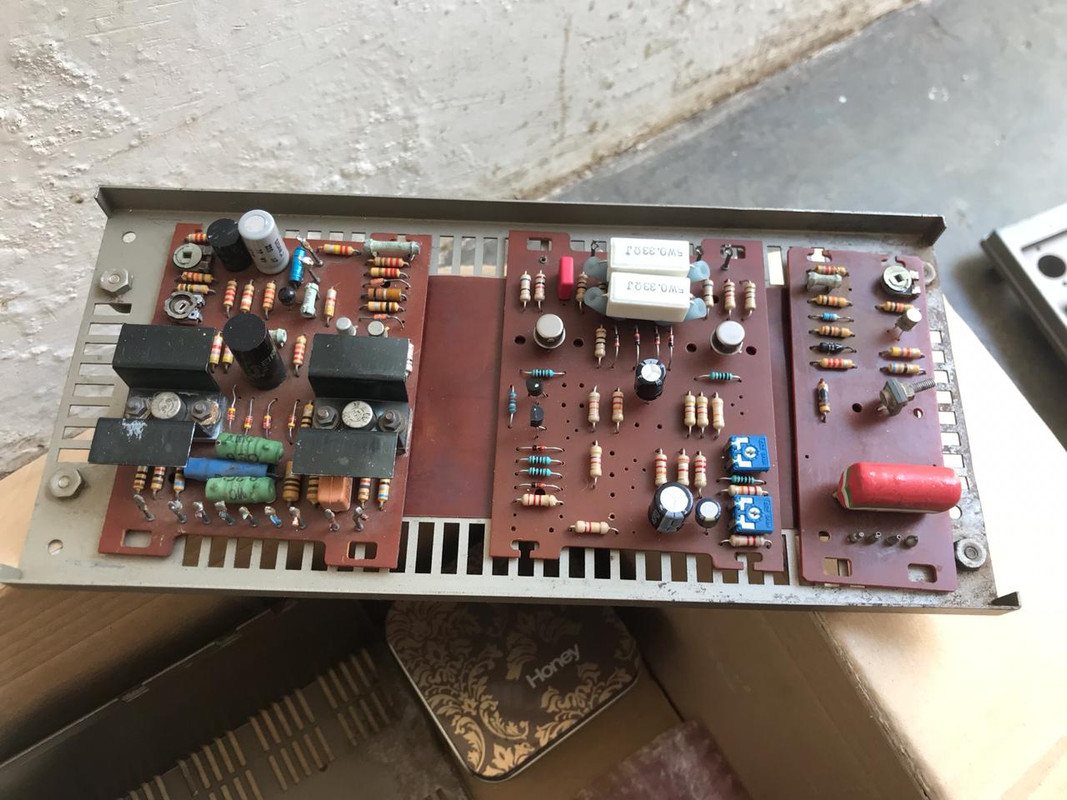

The PCBs I will replace, the rest looks in rather good conditions compared the one I started off with.

mygoggie
Administrator
williamkelly said:Out of interest what did you plate with? I did MGA manifold in nickel and it a) looks great and b) will outlast the car.
Normal bright zinc plating.
Where did you have your nickel plating done? I am looking for a quality plater for nickel plating.
mygoggie
Administrator
Thanks guys, I will start on this very soon. Just wrapping up this project first.Rnwza said:Such an awesome thread...love seeing restoration stuff like this. Can only hope that we get to see the finish line before you get on a lockdown flight and leave these shores. Truly inspiring!
mygoggie
Administrator
At long last I could start spray painting the metal cover parts! As I was on my way to New Zealand, I packed this project away and gave it to a friend for safekeeping.
As I was spray painting the parts of my lathe project, I asked my friend to get the Quad projects out of storage so that I can paint the metal parts as well.
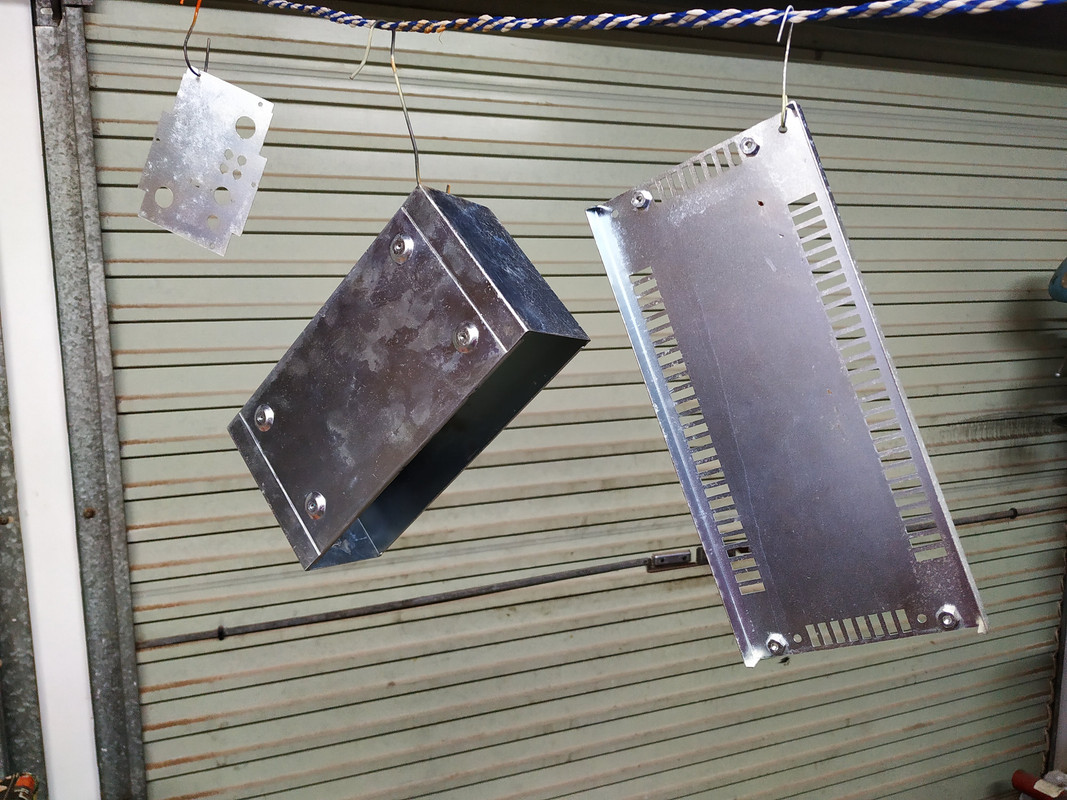
Here the plated parts are hanging ready to be coated with etch primer. The two aluminium ends, I first need to sand blast before I can apply the etch primer.
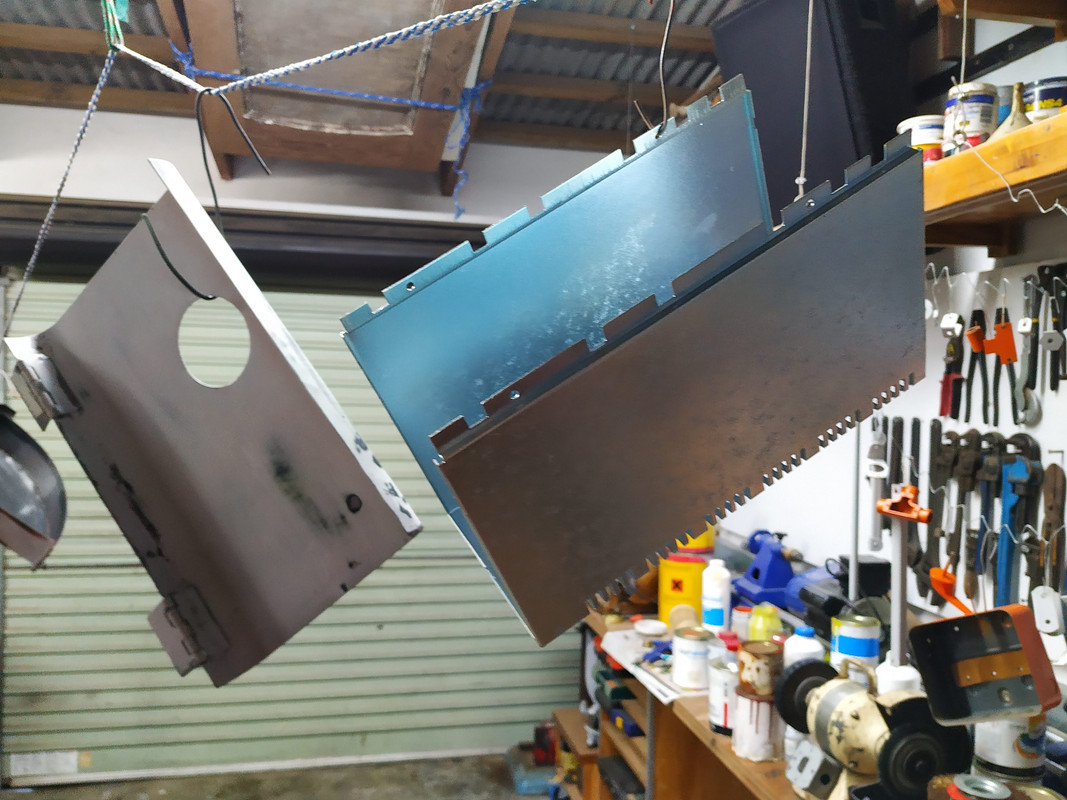
And coated!
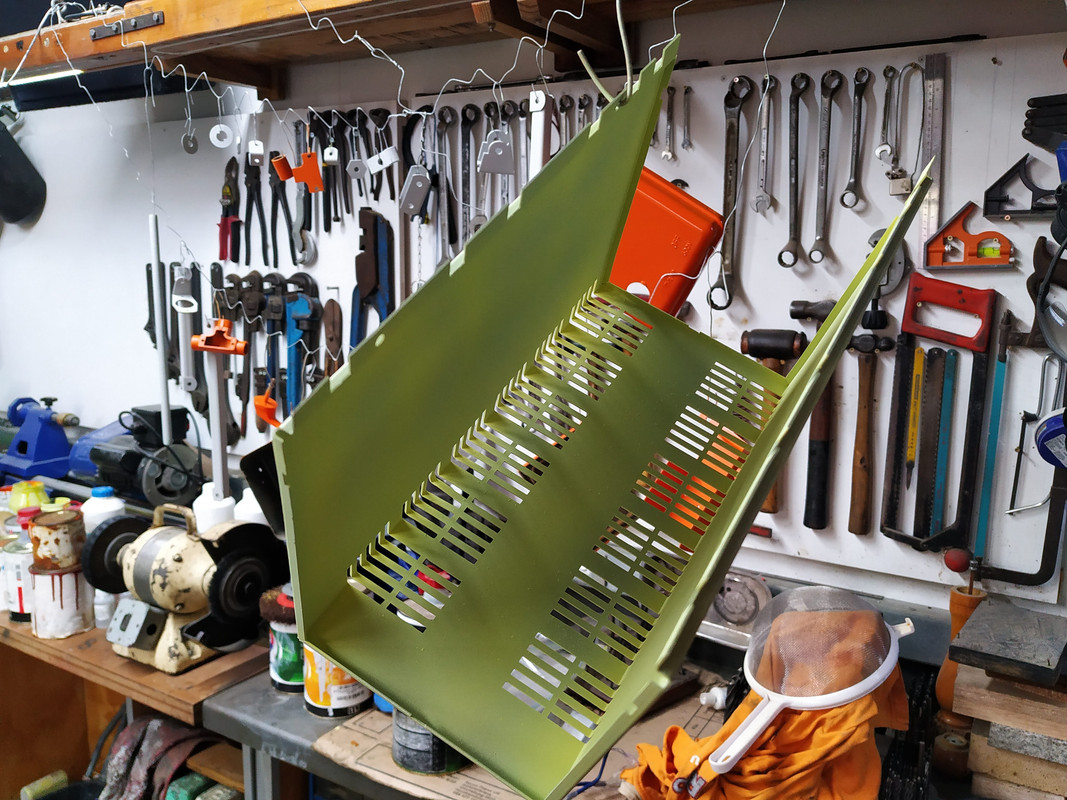
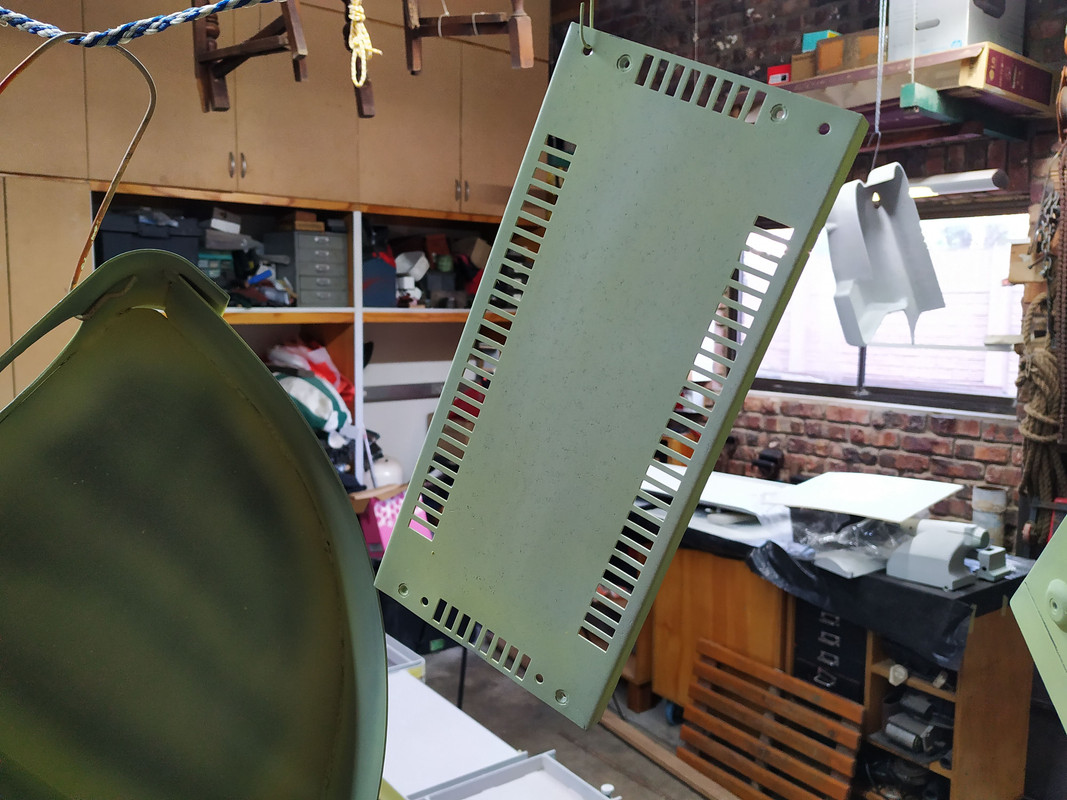
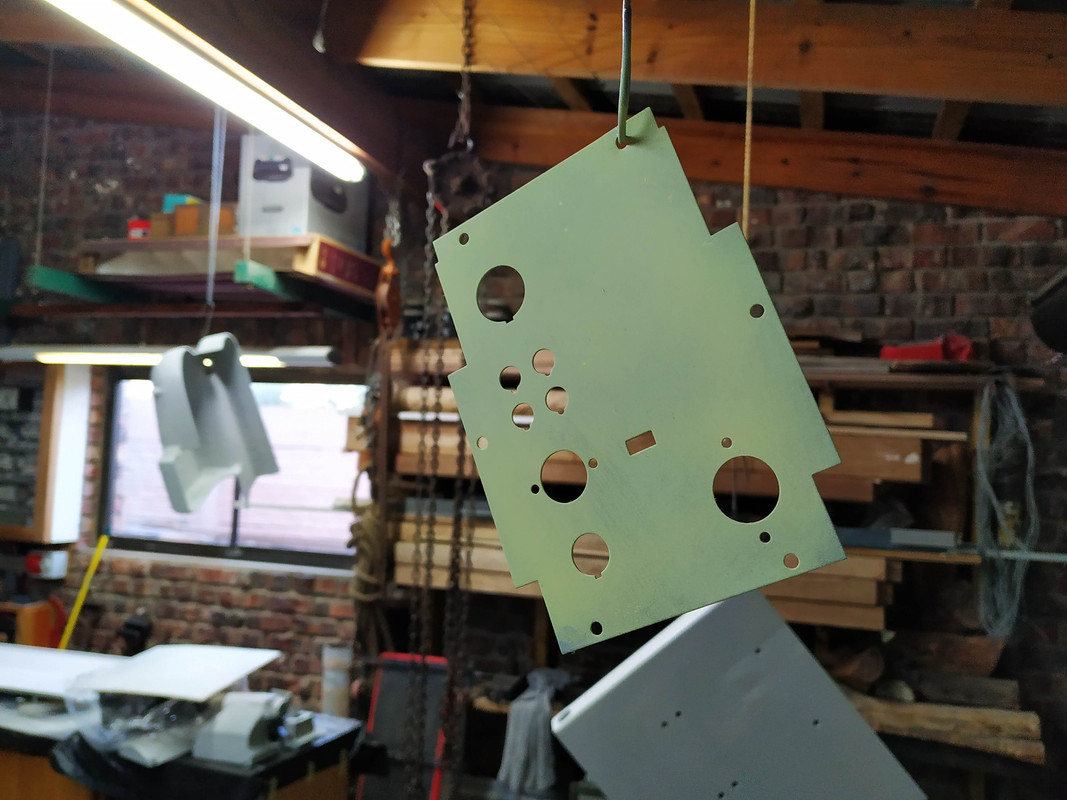
Next step is to spray 2K MS primer to fill up all the little imperfections and give me some meat to sand down to a smooth surface.
I also need to get the second Quad 303 unit I bought just before my proposed move out of storage. I am of the opinion that I will steampunk it. If done with detail, I think it will look brilliant!
Fun times ahead. :2thumbs:
As I was spray painting the parts of my lathe project, I asked my friend to get the Quad projects out of storage so that I can paint the metal parts as well.
Here the plated parts are hanging ready to be coated with etch primer. The two aluminium ends, I first need to sand blast before I can apply the etch primer.


And coated!


Next step is to spray 2K MS primer to fill up all the little imperfections and give me some meat to sand down to a smooth surface.
I also need to get the second Quad 303 unit I bought just before my proposed move out of storage. I am of the opinion that I will steampunk it. If done with detail, I think it will look brilliant!
Fun times ahead. :2thumbs:
mygoggie
Administrator
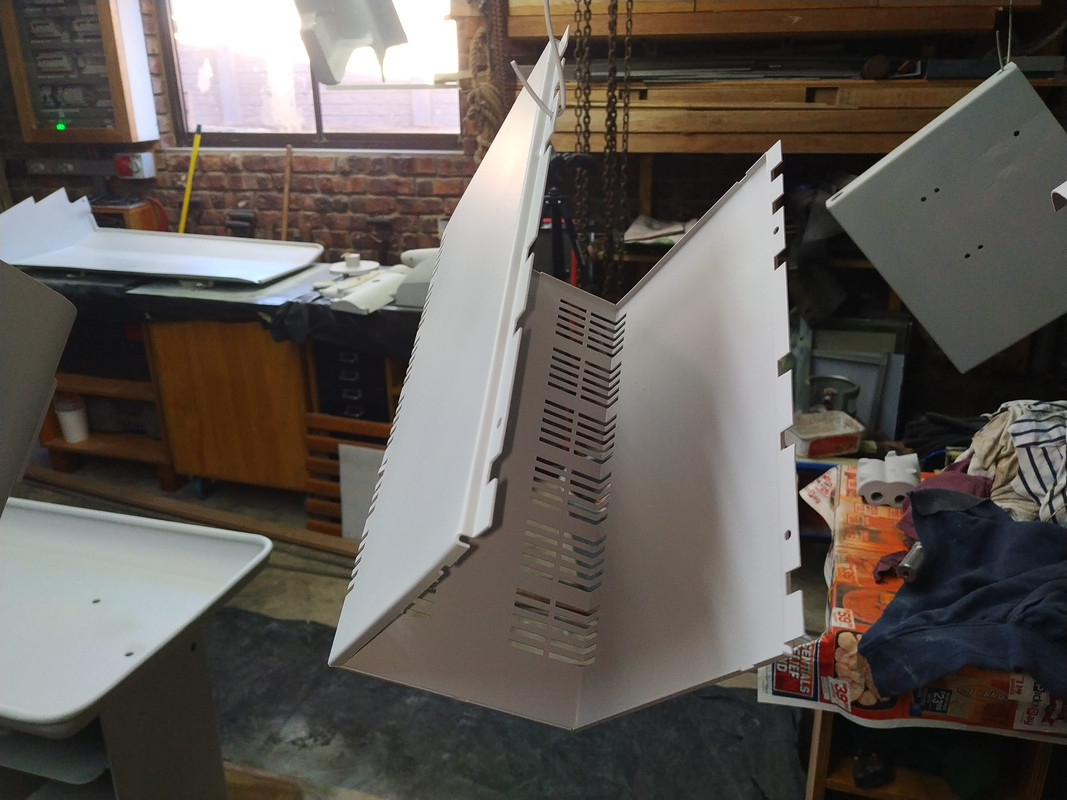
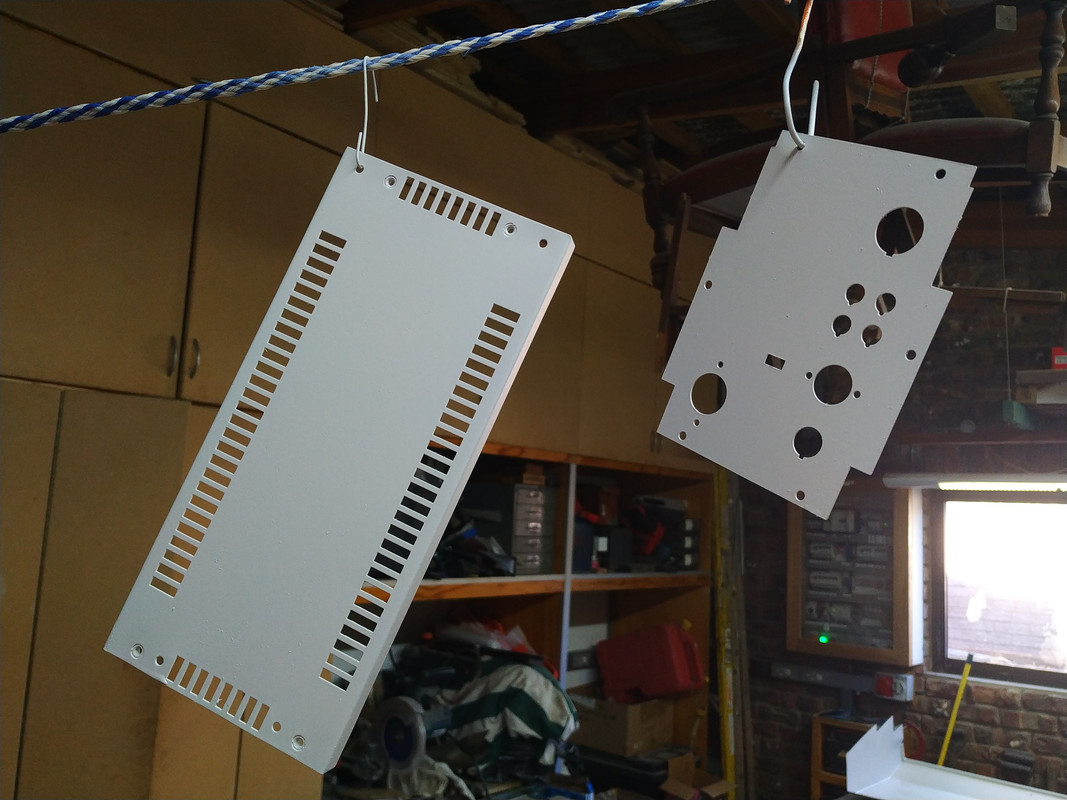
Today I sprayed the MS primer which will allow me to sand these parts smooth and give a good and very neat final top coat.


mygoggie
Administrator
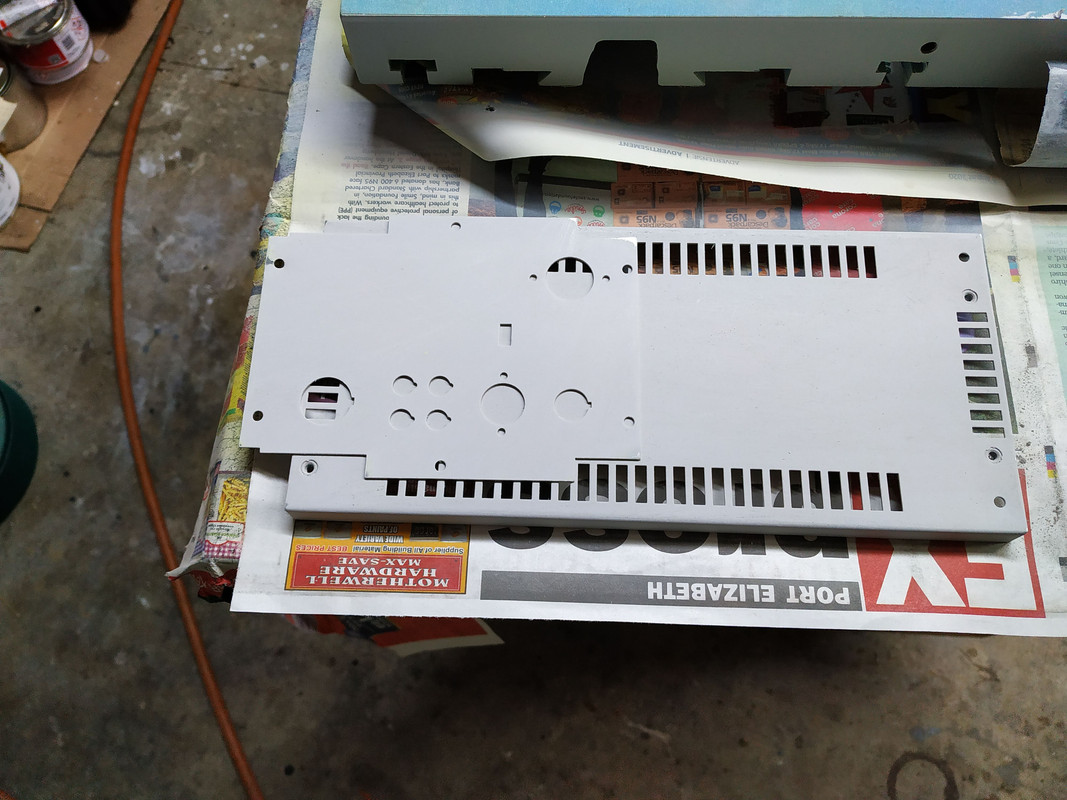
Time for sanding and applying a second layer of 2K MS primer. I was busy with the lathe and the Quad 33 and this Quad 303's parts and spraying parts is a global operation. Think big or go home! :2thumbs:
The faceplate and bottom plate sanded and waiting to be painted.
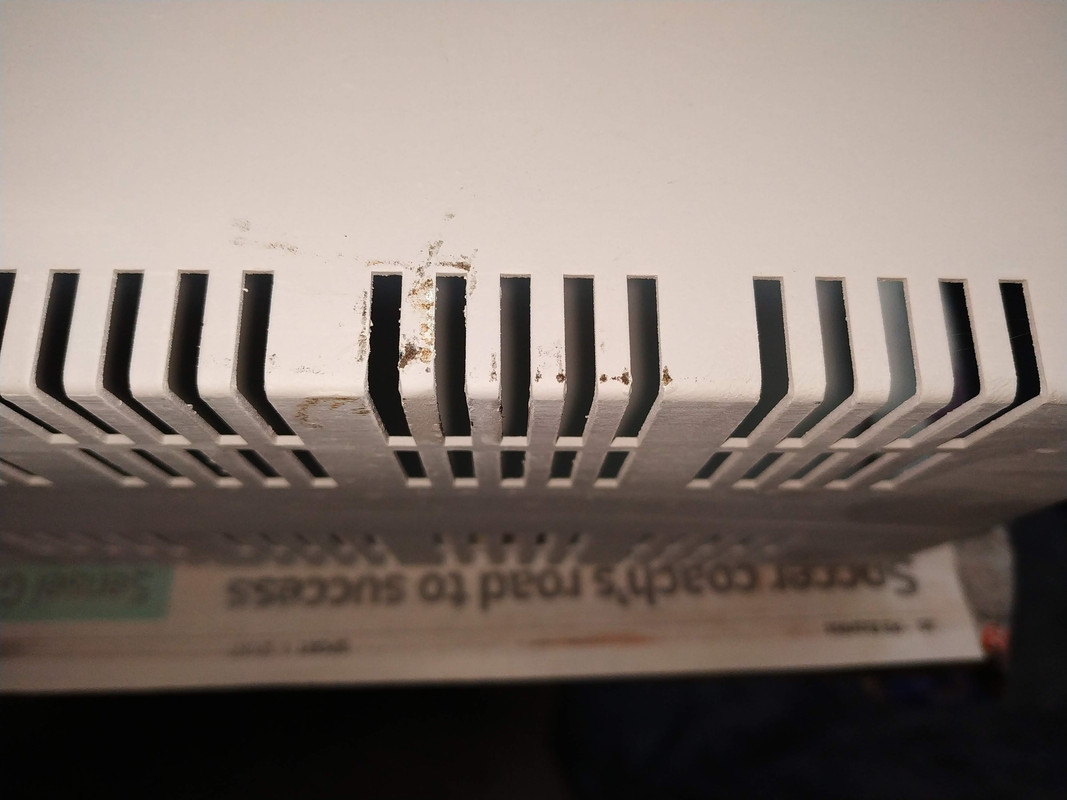
The top cover/casing had some repairs to be done. The grid was bent here and there with two "spokes" badly out of shape. A few blows with a hammer and a tuck with a pair of electrician pliers and presto ...
All sprayed and hanging around with some Student and Quad 33 parts ...
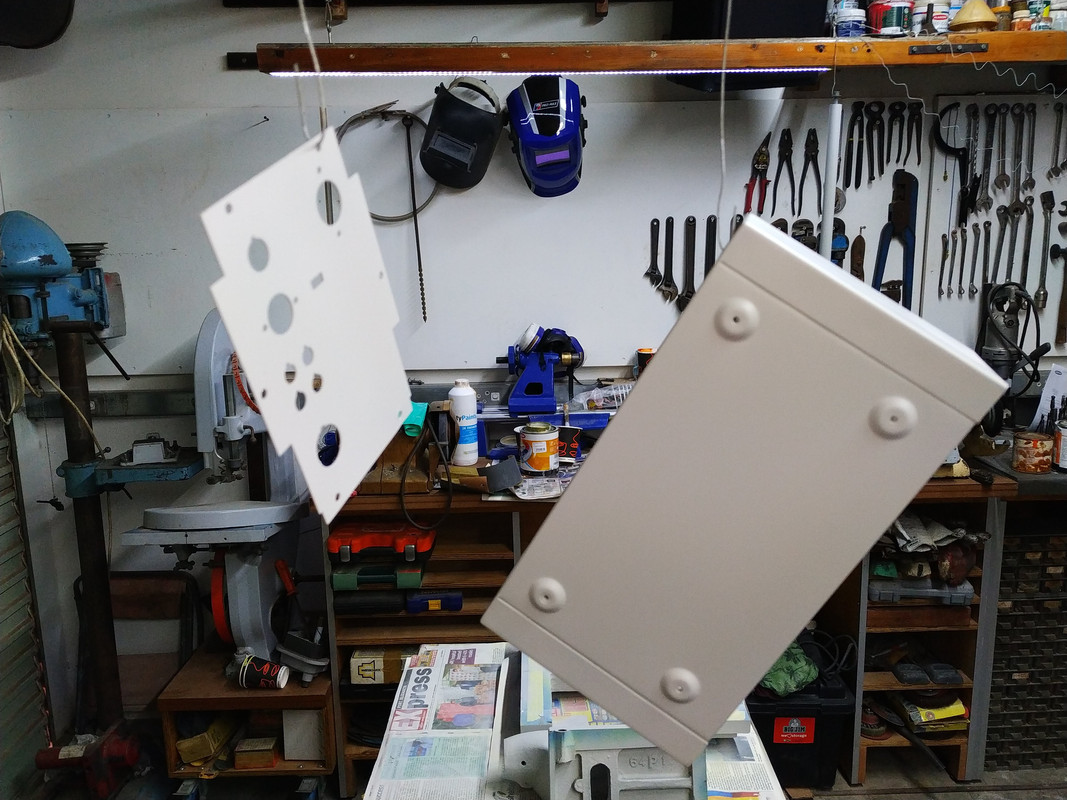
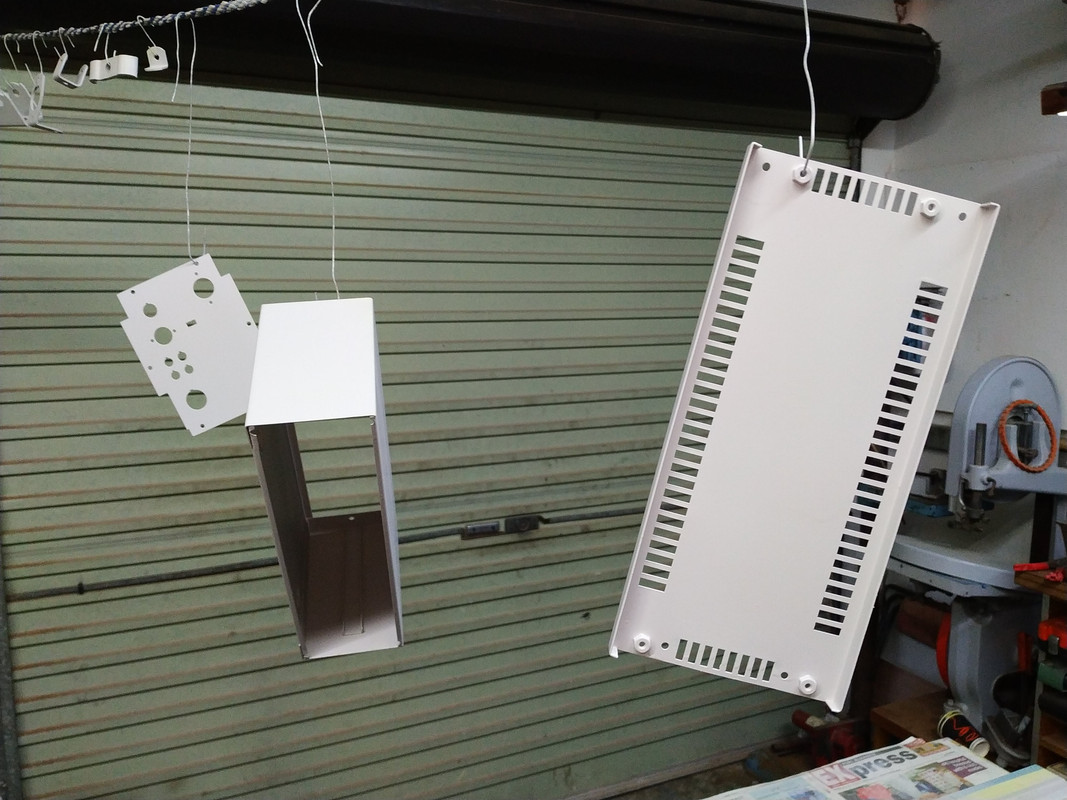
I gave the top cover a fairly thick layer of MS primer as there are many a muchness of dings. I will have to carefully sand these surfaces and see if I can get the surface smooth without reverting to body filler. Let's see what can be done!
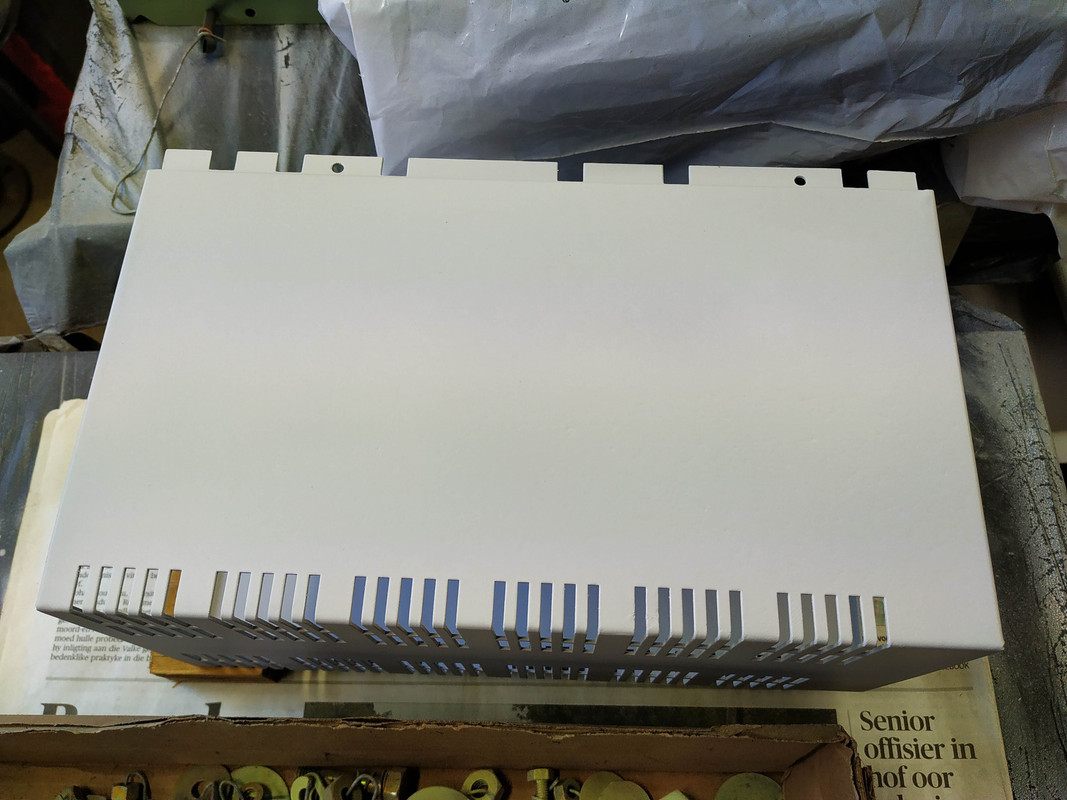
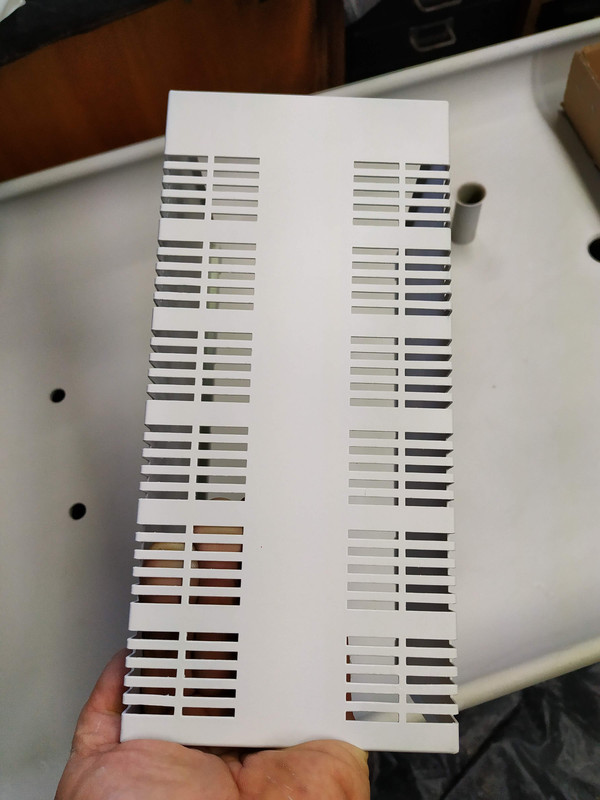
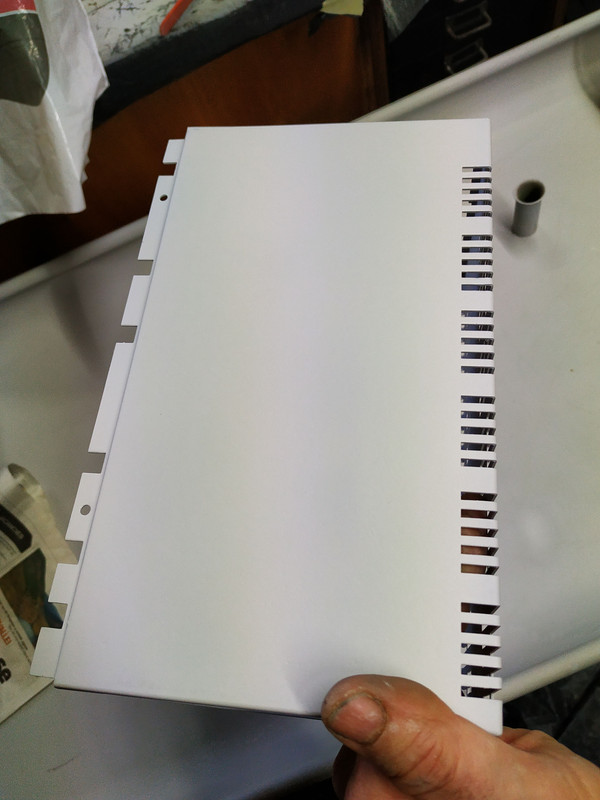
I will tackle these parts tomorrow and see what I can achieve.
The faceplate and bottom plate sanded and waiting to be painted.

The top cover/casing had some repairs to be done. The grid was bent here and there with two "spokes" badly out of shape. A few blows with a hammer and a tuck with a pair of electrician pliers and presto ...

All sprayed and hanging around with some Student and Quad 33 parts ...


I gave the top cover a fairly thick layer of MS primer as there are many a muchness of dings. I will have to carefully sand these surfaces and see if I can get the surface smooth without reverting to body filler. Let's see what can be done!


I will tackle these parts tomorrow and see what I can achieve.
mygoggie
Administrator
It is time to resurrect the project. I will start posting details shortly ....
mygoggie
Administrator
Back to the PCB board. I see that on RS I can obtain this FR2 board:
 za.rs-online.com
Your opinion @Family_Dog or must I rather go for this FR4 photoresist board:
01-3948, Single-Sided Copper Clad Board FR2 203 x 95 x 1.6mm | RS
Your opinion @Family_Dog or must I rather go for this FR4 photoresist board:
Family_Dog
Administrator
I think I would personally use the FR4 board, but that is an overkill, the FR2 board should be perfectly fine.
Or buy both, you are bound to make use of the other one elsewhere.
-F_D
Or buy both, you are bound to make use of the other one elsewhere.
-F_D
mygoggie
Administrator
Well, well and well ... time to continue with the project.
I decided to spend some time to learn KiCAD and redraw the PCBs which will allow me to send such to JLCPCB to manufacture.
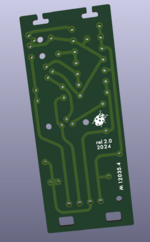
The final design of the regulator board looks like this:
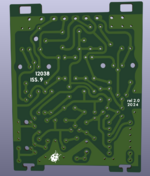
The output board was a lot more complicated to get done and I had to spend many hours to learn how to do all the funny pads and get zoning done correctly. It looks good in my opinion:
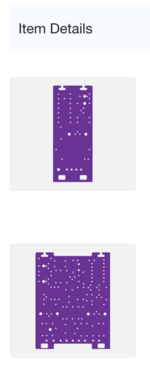
Ordering took a few minutes and of course we had to go with mygoggie's fav colour!
Now onto doing the Quad 33 PCB!
I decided to spend some time to learn KiCAD and redraw the PCBs which will allow me to send such to JLCPCB to manufacture.
The final design of the regulator board looks like this:

The output board was a lot more complicated to get done and I had to spend many hours to learn how to do all the funny pads and get zoning done correctly. It looks good in my opinion:

Ordering took a few minutes and of course we had to go with mygoggie's fav colour!

Now onto doing the Quad 33 PCB!
